layui的上传默认是没有添加上传的监听,我们需要在layui的upload.js模块中先添加上传监听事件的句柄
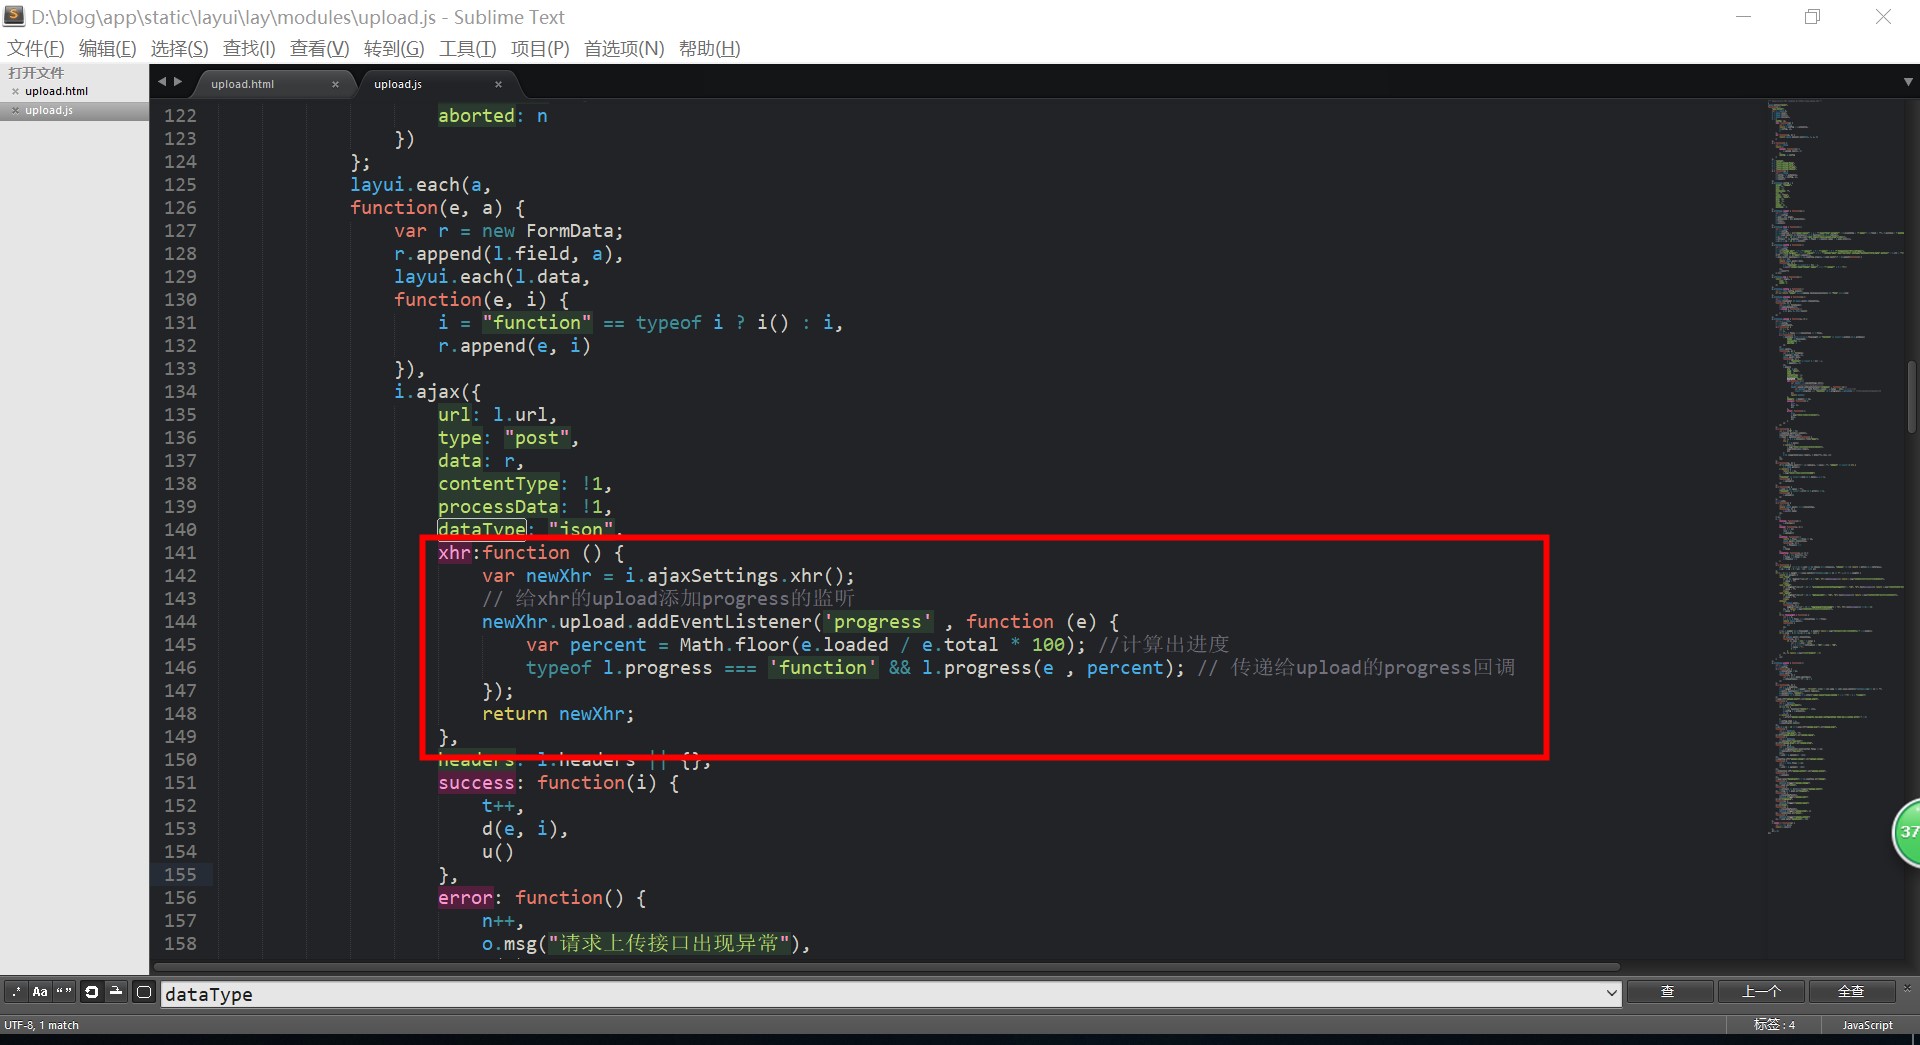
找到static\layui\lay\modules下的upload.js文件,为了方便添加代码,我将里面压缩的样式格式化了下,然后添加以下代码
xhr:function () {
    var newXhr = i.ajaxSettings.xhr();
    // 给xhr的upload添加progress的监听
    newXhr.upload.addEventListener('progress' , function (e) {
        var percent = Math.floor(e.loaded / e.total * 100); //计算出进度
        typeof l.progress === 'function' && l.progress(e , percent); // 传递给upload的progress回调
    });
    return newXhr;
},
改好是这样的

改完了以后你可以选择把这个js文件压缩回原来的样子
然后最重要的环节就做完了,我们来看看模板代码和flask上传方法
html代码如下
{% extends "web/layout.html" %}
{% block title %}
苏老博客
{% endblock %}
{% block content %}
<div class="layui-container">
    <div class="layui-form">
        <fieldset class="layui-elem-field layui-field-title" style="margin-top: 10px;">
            <legend>文件上传,上传进度条</legend>
        </fieldset>
        <div class="layui-form-item">
            <div class="layui-upload" style="margin-top: 10px;">
                <button type="button" class="layui-btn layui-btn-normal" id="select">选择文件</button>
                <button type="button" class="layui-btn" id="upload">开始上传</button>
            </div>
        </div>
    </div>
    <div class="layui-progress layui-progress-big" lay-showPercent="yes" lay-filter="progressBar">
        <div class="layui-progress-bar layui-bg-green" lay-percent="0%"></div>
    </div>
</div>
<script>
layui.use(['element','layer','upload','jquery'], function(){
    var element = layui.element
    ,layer = layui.layer
    ,upload = layui.upload
    ,$ = layui.jquery;
    upload.render({
    elem: '#select'
    ,accept: 'file'
    ,exts: 'zip|rar|7z|tar|gz|xz|gzip'
    ,url: '{{ url_for("web.upload") }}'
    ,auto: false
    ,multiple: true
    ,bindAction: '#upload'
    ,progress: function(e , percent) {
		element.progress('progressBar',percent  + '%');
	}
    ,done: function(res){
      layer.msg("上传成功")
    }
    ,error: function(index, upload){
      layer.alert("上传失败")
    }
  });
});
</script>
{% endblock %}
由于upload方法添加了监听事件,我们可以通过绑定的dom类来修改属性的值了
然后是我的上传方法
#!/usr/bin/python3
#coding:utf-8
from flask import Flask,jsonify,request
from werkzeug.utils import secure_filename
from app.web import web
import os
import time
#上传函数
@web.route('/upload', methods=['POST', 'GET'])
def upload():
    if request.method == "POST":
        #获取上传文件对象
        f = request.files['file']
        #今日附件目录
        attchment_dir = time.strftime("%Y/%m/", time.localtime())
        upload_path = os.path.join("app/upload/", attchment_dir)
        #判断附件目录是否存在
        isExist = os.path.exists(upload_path)
        if not isExist:
            #不存在就创建
            os.makedirs(upload_path, 0o777)
        #拼接文件相对路径
        src = os.path.join(upload_path + secure_filename(f.filename))
        f.save(src)
        datas = {
            "code":0,
            "msg":"",
            "data":{
                "src":src
            }
        }
        return jsonify(datas)
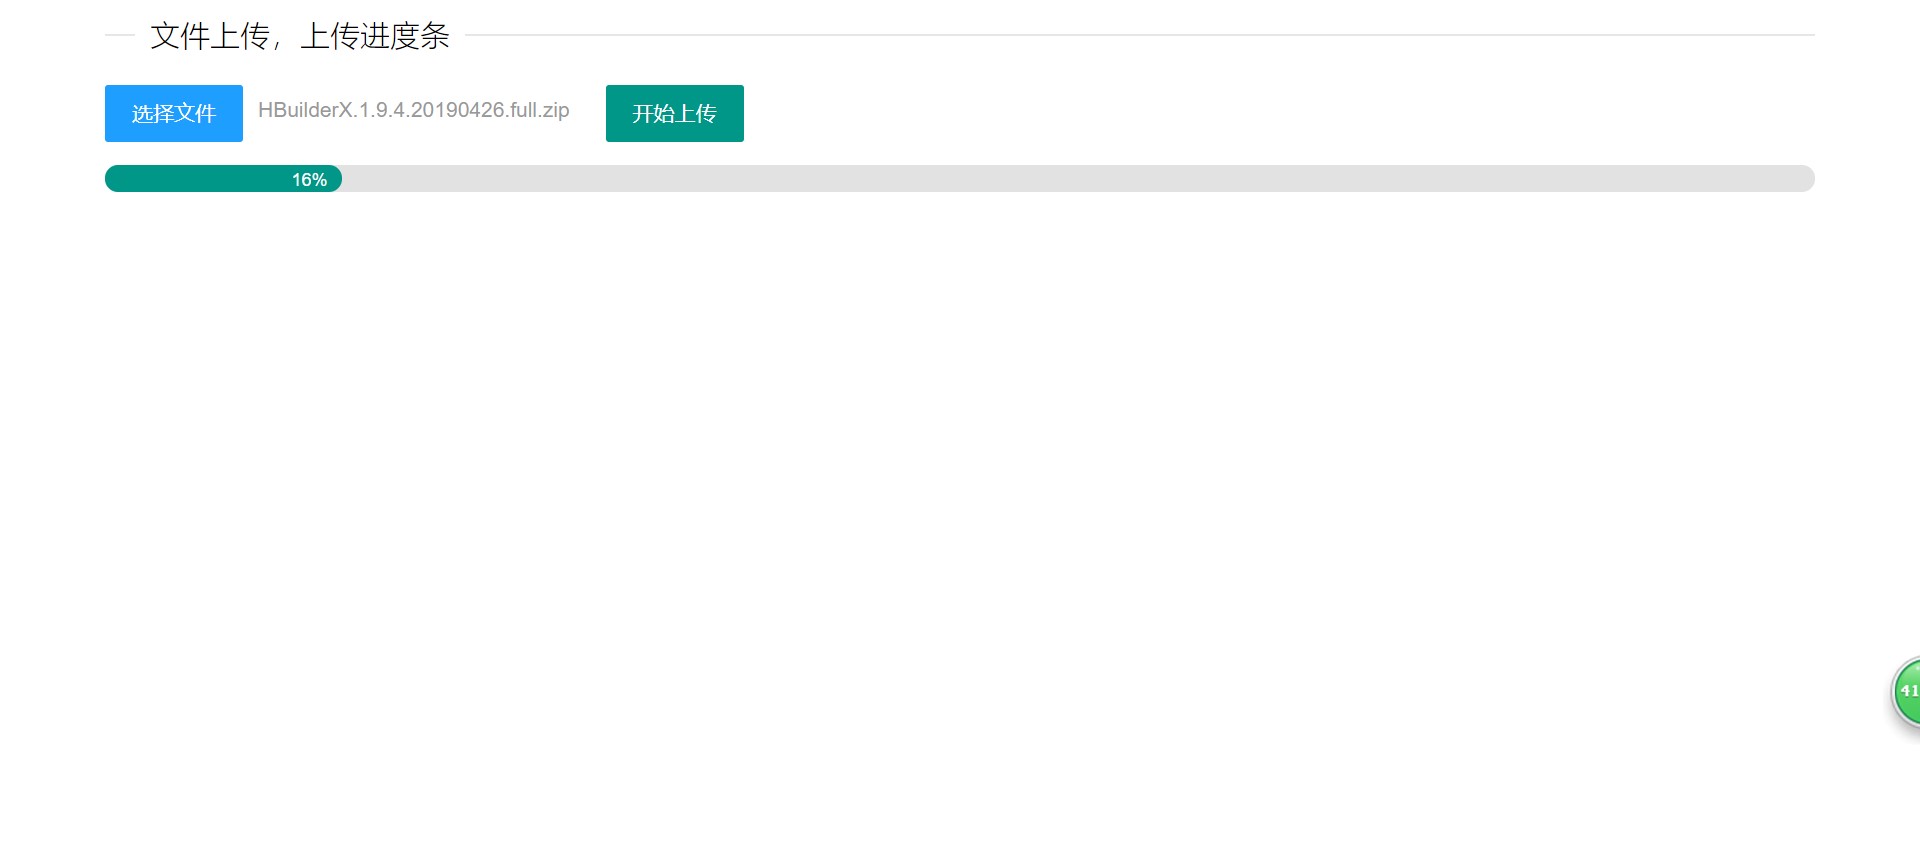
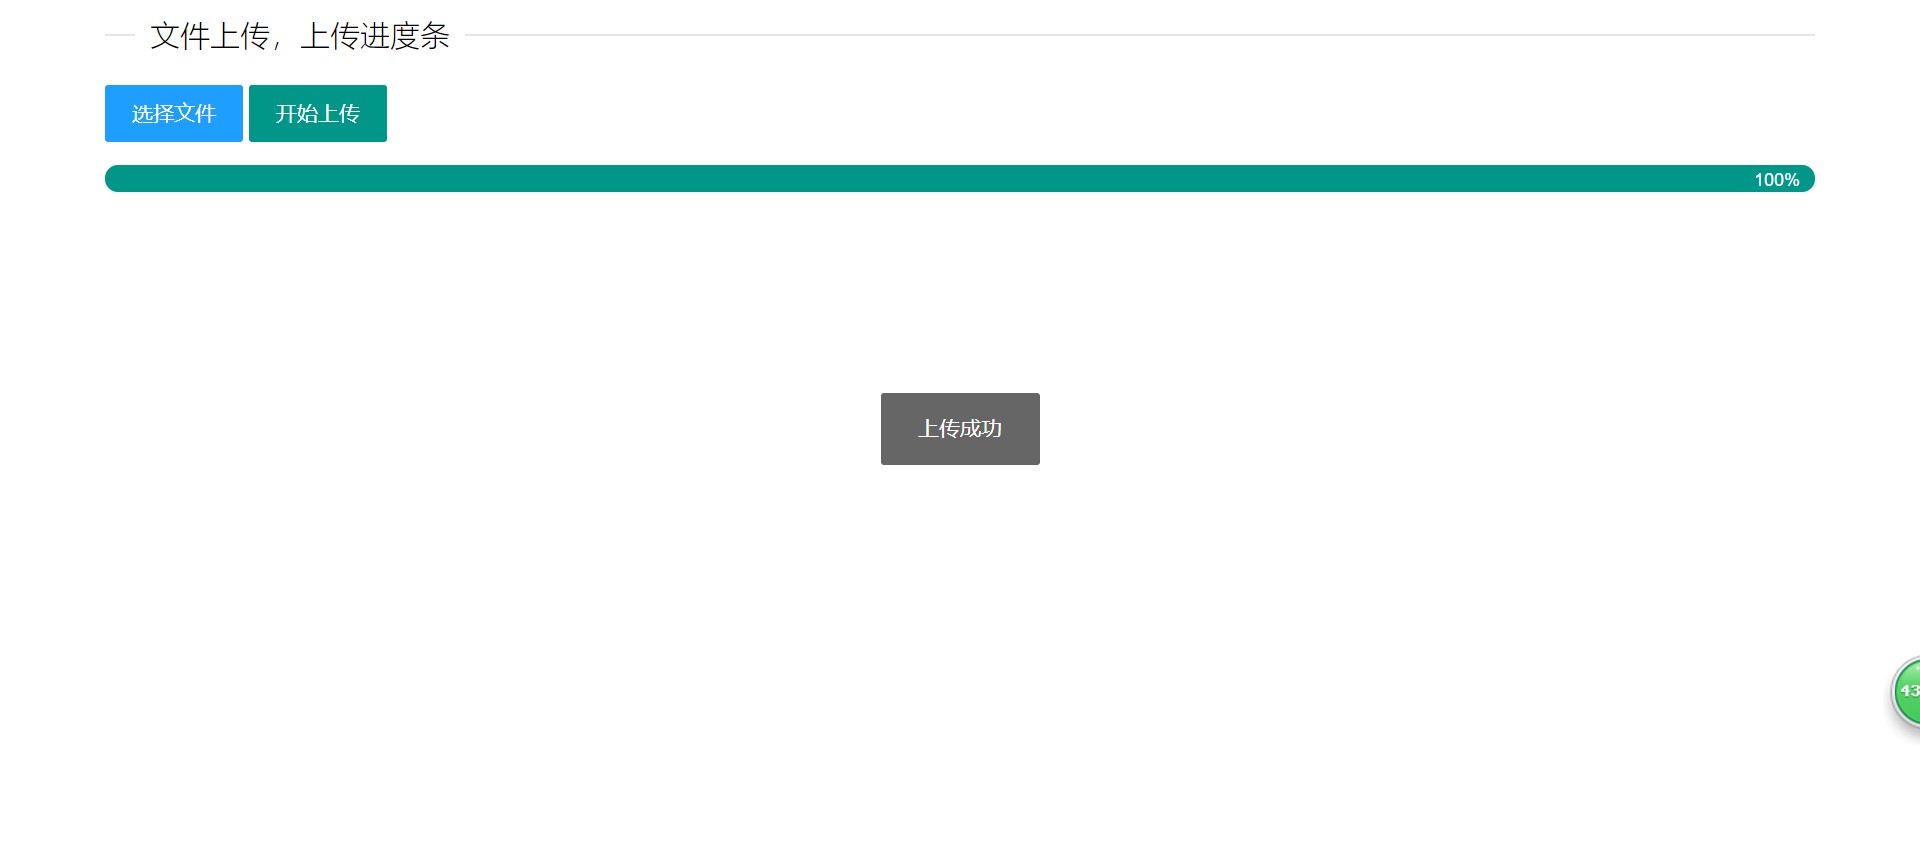
最后上传下效果图


内容版权声明:除非注明,否则皆为本站原创文章。
转载注明出处:https://sulao.cn/post/665

评论列表