
这两年比较流行AI Agent,所以自用博客尝试了下接入,目前使用的是讯飞星火大模型的接口,token是有数量限制的,所以仅仅作为测试在本站展示,流式的对话切割插入的样式标签还不够完美,后续继续细化下,今天主要就来记录下实现的方法。
目前接入大模型接口接入有http和wss两种方式接入,由于flask使用socketIO只能使用一个进程和一个线程,所以我们摸索了下,还是使用http的方式接入,然后使用sse流式对话,将后端拿到的流式对话通过sse往前推送,实现方式前我们需要使用到flask-sse这个包,然后还有redis,这两个我们先安装下。
pip install flask-sse redis我们的flask集成了工厂模式,然后配置文件是setting.py,然后需要增加配置
#大模型接口和SSE相关配置
API_PASSWD = "自己去平台获取"
BASE_URL = "https://spark-api-open.xf-yun.com/v2/chat/completions"
REDIS_URL = "redis://localhost:6379"
然后我们专门写了一个蓝本作为sse接口的路由。
from apps.chat import chat#注册蓝本路由
def register_blueprint(app):
    app.register_blueprint(chat, url_prefix='/chat')
然后是chat目录下有__init__.py文件和view.py文件,内容分别如下:
__init__.py主要用于定义路由和导入请求的视图
from flask import Blueprint
chat = Blueprint('chat', __name__)
from . import view
view.py,前端以?channel=${channel}这样的参数是固定的,我们可以查看flask-sse的源码,他获取的channel参数名字就是这个,所以直接命名这个就无需改动。
#!/usr/bin/python3
#coding:utf-8
__author__ = 'yang.su'
from flask import request, current_app, jsonify
from flask_sse import sse
from apps import limiter
from . import chat
import bleach
import requests
import json

#创建对话流连接
@chat.route('/stream', methods=['GET'])
def stream():
    return sse.stream()

#流式返回对话
@chat.route('/dialogue', methods=['GET', 'POST'])
def dialogue():
    if request.method == "POST":
        code, msg = [1, ""]
        channel = request.args.get("channel")
        try:
            data = request.get_json()
            prompt = data.get("prompt", None)
            prompt = bleach.clean(prompt)
            if prompt:
                user_msg = "<div class='right'><p>{}</p></div>".format(prompt)
                sse.publish({"message": user_msg}, type='message_event', channel=channel)

                headers = {
                    'Authorization': "Bearer {}".format(current_app.config['API_PASSWD']),
                    'Content-Type': "application/json"
                }
                body = {
                    "model": "x1",
                    "user": "user_id",
                    "messages": [{"role": "user", "content": prompt}],
                    "stream": True,
                    "tools": [{"type": "web_search", "web_search": {"enable": True, "search_mode": "deep"}}]
                }

                response = requests.post(
                    url=current_app.config["BASE_URL"],
                    json=body,
                    headers=headers,
                    stream=True
                )
                paragraph = ""
                describe = ""
                is_paragraph = False
                is_describe = False

                for chunk in response.iter_lines():
                    if not chunk or b'[DONE]' in chunk:
                        continue

                    chunk_str = chunk.decode('utf-8').strip()
                    if chunk_str.startswith('data:'):
                        data_org = chunk_str[5:].strip()
                        try:
                            chunk_data = json.loads(data_org)
                            delta = chunk_data.get('choices', [{}])[0].get('delta', {})

                            # 处理思维链内容,包含段落html标签
                            reasoning = delta.get('reasoning_content', '')
                            if reasoning:
                                if not is_describe:
                                    describe = reasoning
                                    is_describe = True
                                else:
                                    describe += reasoning

                                if any(punct in reasoning for punct in ['\n', '!', '?', '。', '!', '?']):
                                    describe_html = "<div class='describe'><p>{}</p></div>".format(describe)
                                    sse.publish({"message": describe_html}, type='message_event', channel=channel)
                                    describe = ""
                                    is_describe = False

                            # 处理最终回复内容,包含段落html标签
                            content = delta.get('content', '')
                            if content:
                                if not is_paragraph:
                                    paragraph = content
                                    is_paragraph = True
                                else:
                                    paragraph += content

                            if any(punct in content for punct in ['\n', '!', '?', '。', '!', '?', '###']):
                                msg_html = "<div class='left'><p>{}</p></div>".format(paragraph)
                                sse.publish({"message": msg_html}, type='message_event', channel=channel)
                                paragraph = ""
                                is_paragraph = False

                        except Exception as e:
                            current_app.logger.error("JSON解析失败: {}, 原始数据: {}".format(e, data_org))

        except Exception as e:
            error_msg = "AI对话异常: {}".format(e)
            current_app.logger.error(error_msg)
            # 发送错误信息到前端
            sse.publish({"message": "<div class='error'>{}</div>".format(error_msg)}, type='message_event', channel=channel)
            msg = error_msg

        return jsonify({
            "code": code,
            "msg": msg
        })

    return "Hello Flask-sse !"
因为我们是使用频道的模式,没有使用广播的模式,所以使用session去主动设置了频道,是使用的uuid作为频道标识
在前台蓝本的钩子里主动设置了一个uuid作为频道标识
import uuid

#前台视图钩子,限制每秒三次点击
@article.before_request
@limiter.limit("2/second", error_message="Too many requests!")
def post_cache():
    if not session.get("channel", None):
        channel = str(uuid.uuid4())
        session["channel"] = channel
然后在前台公共模板的位置将这个值传递给js变量
<script>
    var channelId = '{{ session.channel }}';
</script>
最后就是js文件内容
$("#ask-ai").on("click", function(){
    var screen_width = document.documentElement.clientWidth >= 768 ? '40vw' : '100vw';
    layer.open({
        type: 1,
        title: "AI大模型对话流",
        offset: 'r',
        move: false,
        anim: 'slideLeft', // 从右往左
        area: [screen_width, '100%'],
        shade: 0.1,
        shadeClose: true,
        scrollbar: false,
        id: 'ID-demo-layer-direction-r',
        content: $(".layui-chat")
    });
    var streamEvent = new EventSource('/chat/stream?channel='+channelId);
    streamEvent.addEventListener("message_event", function(event){
        data = JSON.parse(event.data);
        document.getElementById('answer-box').innerHTML += data.message;
    });
});
form.on('submit(send)', function(data){
    $("#send").addClass("layui-btn-disabled");
    $("#send").attr("disabled", true);
    $.ajax({
        url:  '/chat/dialogue?channel='+channelId,
        type: 'POST',
        data: JSON.stringify(data.field),
        contentType :"application/json",
        dataType: 'json',
        timeout: 300000,
        error: function(){
            layer.msg('请勿频繁提问,当前策略为每分钟只允许提问一次! ', {time: 1000, icon: 2});
        },
        complete: function(){
            $("#send").removeClass("layui-btn-disabled");
            $("#send").attr("disabled", false);
        },
        success: function(d){
            if(d.code == 0){
                $(".layui-textarea").val("");
                layer.msg(d.msg, {icon: 1, time: 1000});
            }
        }
    });
    return false;
});
上面的ask-ai按钮是用于弹出AI对话流的对话框,顺便在这个对话框里实例化并建立SSE连接,下面的提交是对话输入框,后端接口是通过这个对话框提交的数据去请求大模式接口,后端接口requests接口中有个stream的参数就是让对话以流式的方式通过sse不断往前端推送。
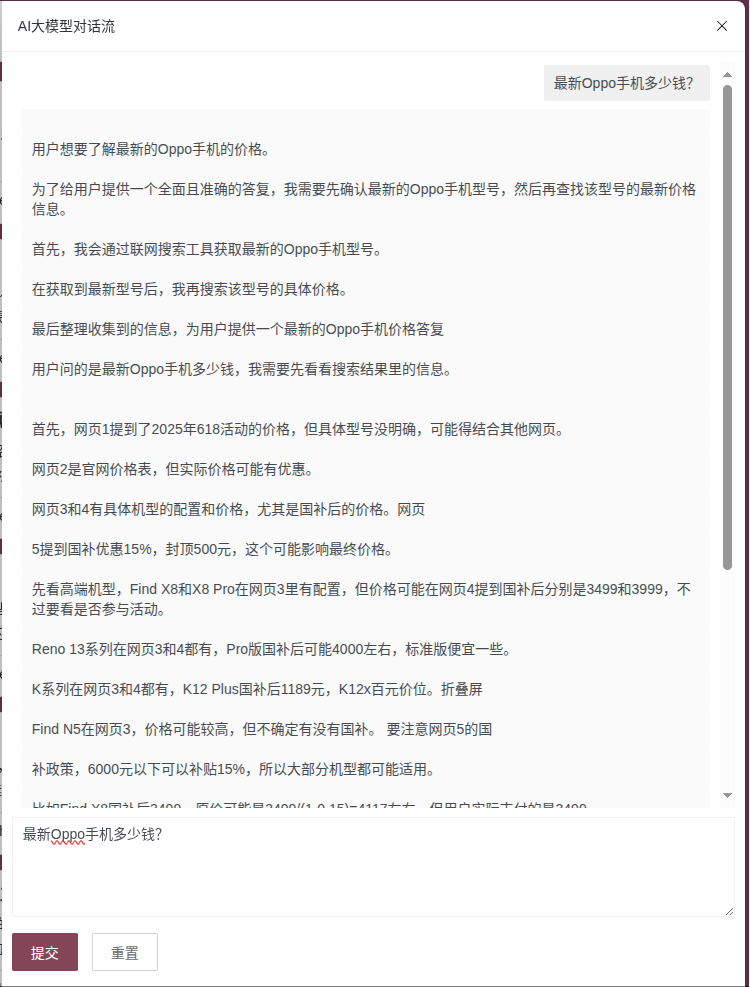
最后是效果图,本站验证的效果图
除了以上代码修改,还有nginx也需要进行修改,需要禁用缓冲区
proxy_buffering off;以上就是所有需要添加修改的地方,目前来看大模型接入很多接口都差不多,后面改用其他大模型接口只需要稍作修改。
内容版权声明:除非注明,否则皆为本站原创文章。
转载注明出处:https://sulao.cn/post/1048
评论列表