昨天我们已经成功搭建ELK,具体的部署过程可以查看我昨天的笔记https://sulao.cn/post/731.html,今天我们就来看看如何使用ELK
在需要拉取日志的机器上安装filebeat
yum localinstall filebeat-7.4.0-x86_64.rpm
然后修改配置文件
vi /etc/filebeat/filebeat.yml
- type: log
  enabled: true
  paths:
    - /usr/local/nginx/logs/access.log
  fields:
    log_source: nginx-access

- type: log
  enabled: true
  paths:
    - /usr/local/nginx/logs/error.log
  fields:
    log_source: nginx-error

filebeat.config.modules:
  path: ${path.config}/modules.d/*.yml
  reload.enabled: true

setup.kibana:
  host: "172.26.61.61:5601"

#output.elasticsearch:    //我们输出到logstash,把这行注释掉
  #hosts: ["localhost:9200"]   //这行也注释掉
output.logstash:
  hosts: ["172.26.61.61:5044"]
启用nginx模块
filebeat modules enable nginx
执行以上命令后会在/etc/filebeat/modules.d/目录下生成一个nginx.yml文件,查看这个目录下还有很多其他文件,都是以.disabled结尾的
修改nginx模块配置
vi /etc/filebeat/modules.d/nginx.yml
- module: nginx
  access:
    enabled: true
    var.paths: ["/usr/local/nginx/logs/access.log"]

  error:
    enabled: true
    var.paths: ["/usr/local/nginx/logs/error.log"]
保存退出
启动filebeat并添加到开机启动
systemctl start filebeat
systemctl enable filebeat
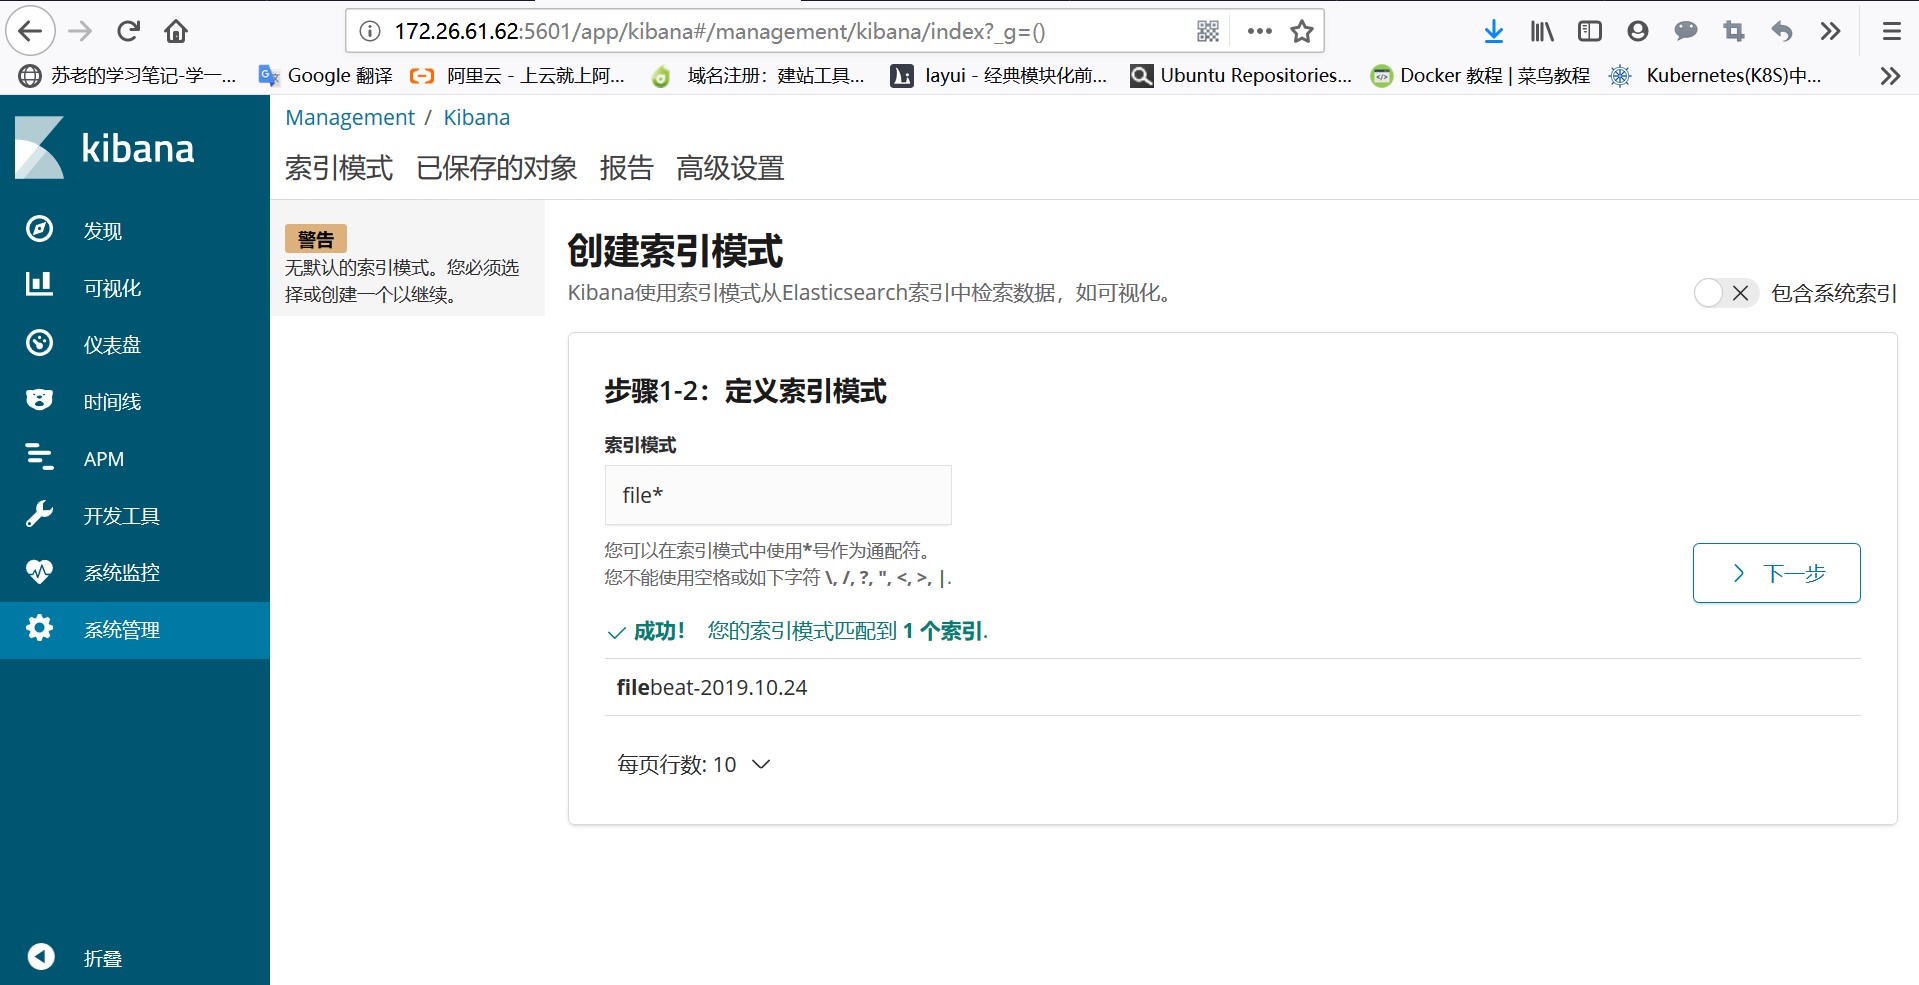
接下来我们需要需要在kibana上面点击系统管理->索引模式->创建索引模式
在索引模式的输入框中输入filebeat就会出现一条匹配的索引

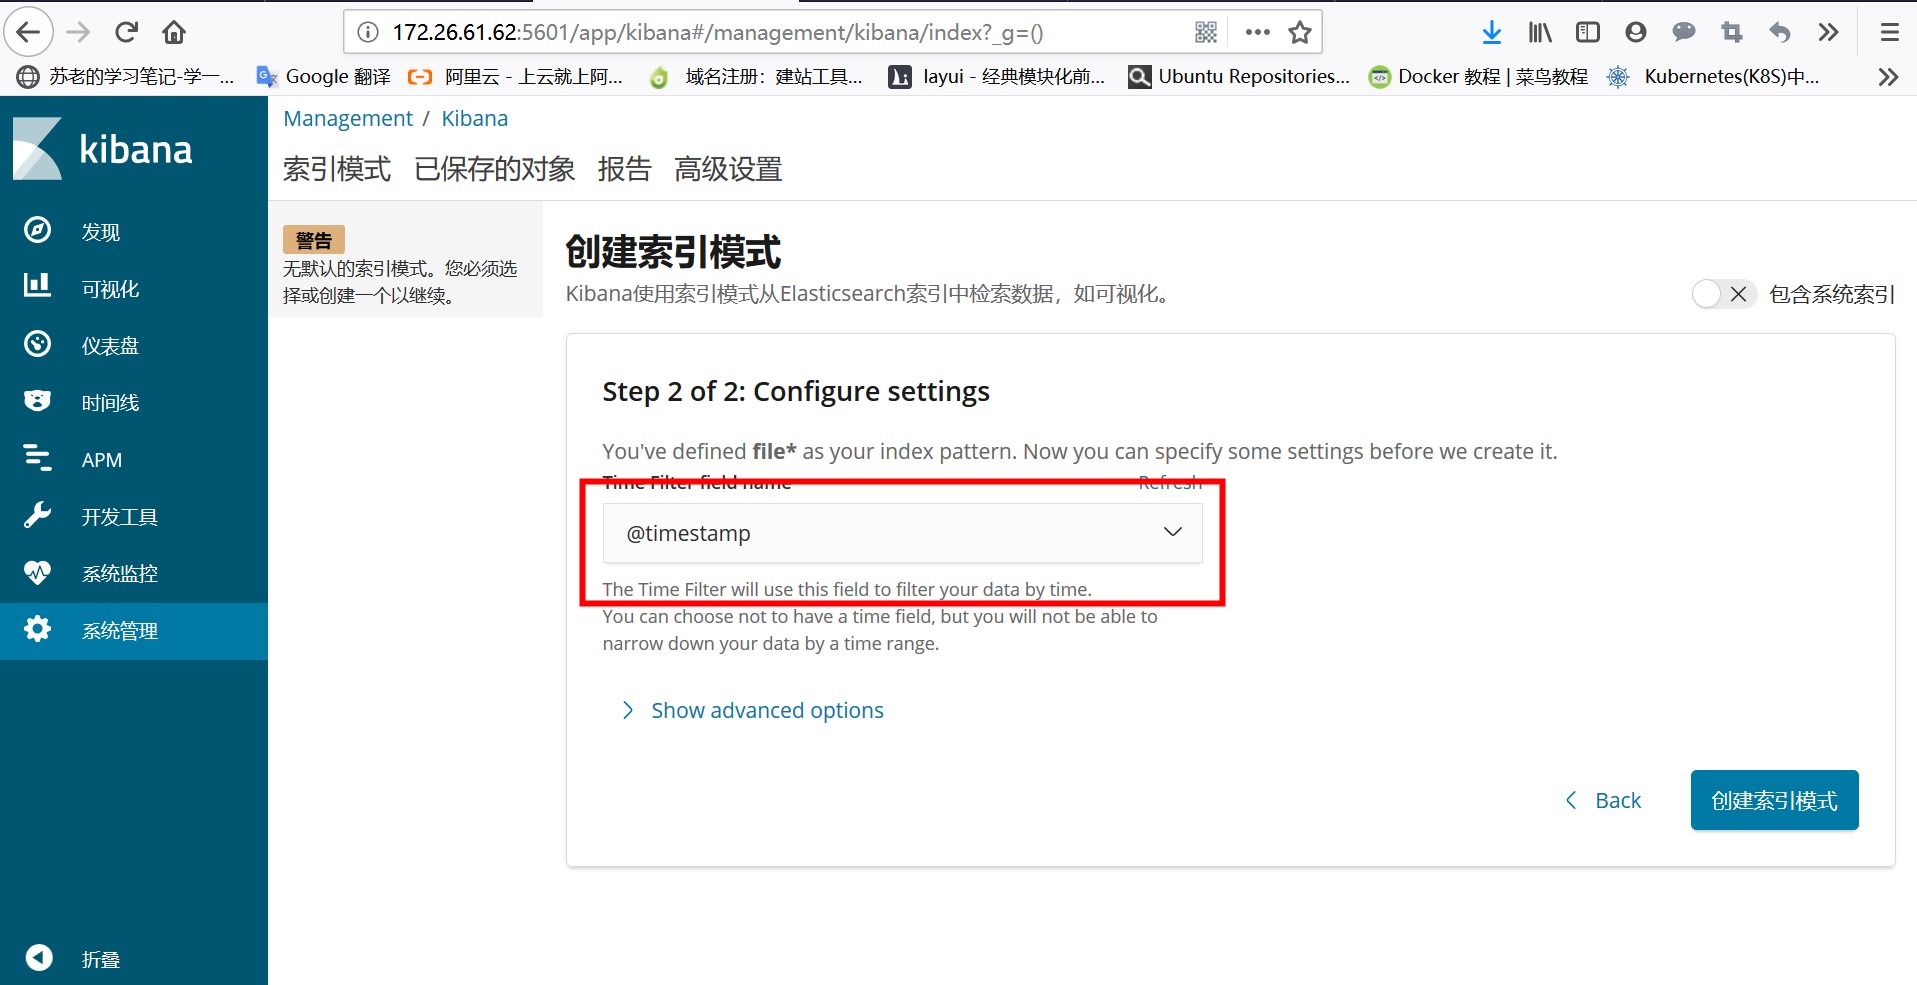
然后点击下一步,选择@timestamp来创建索引模式

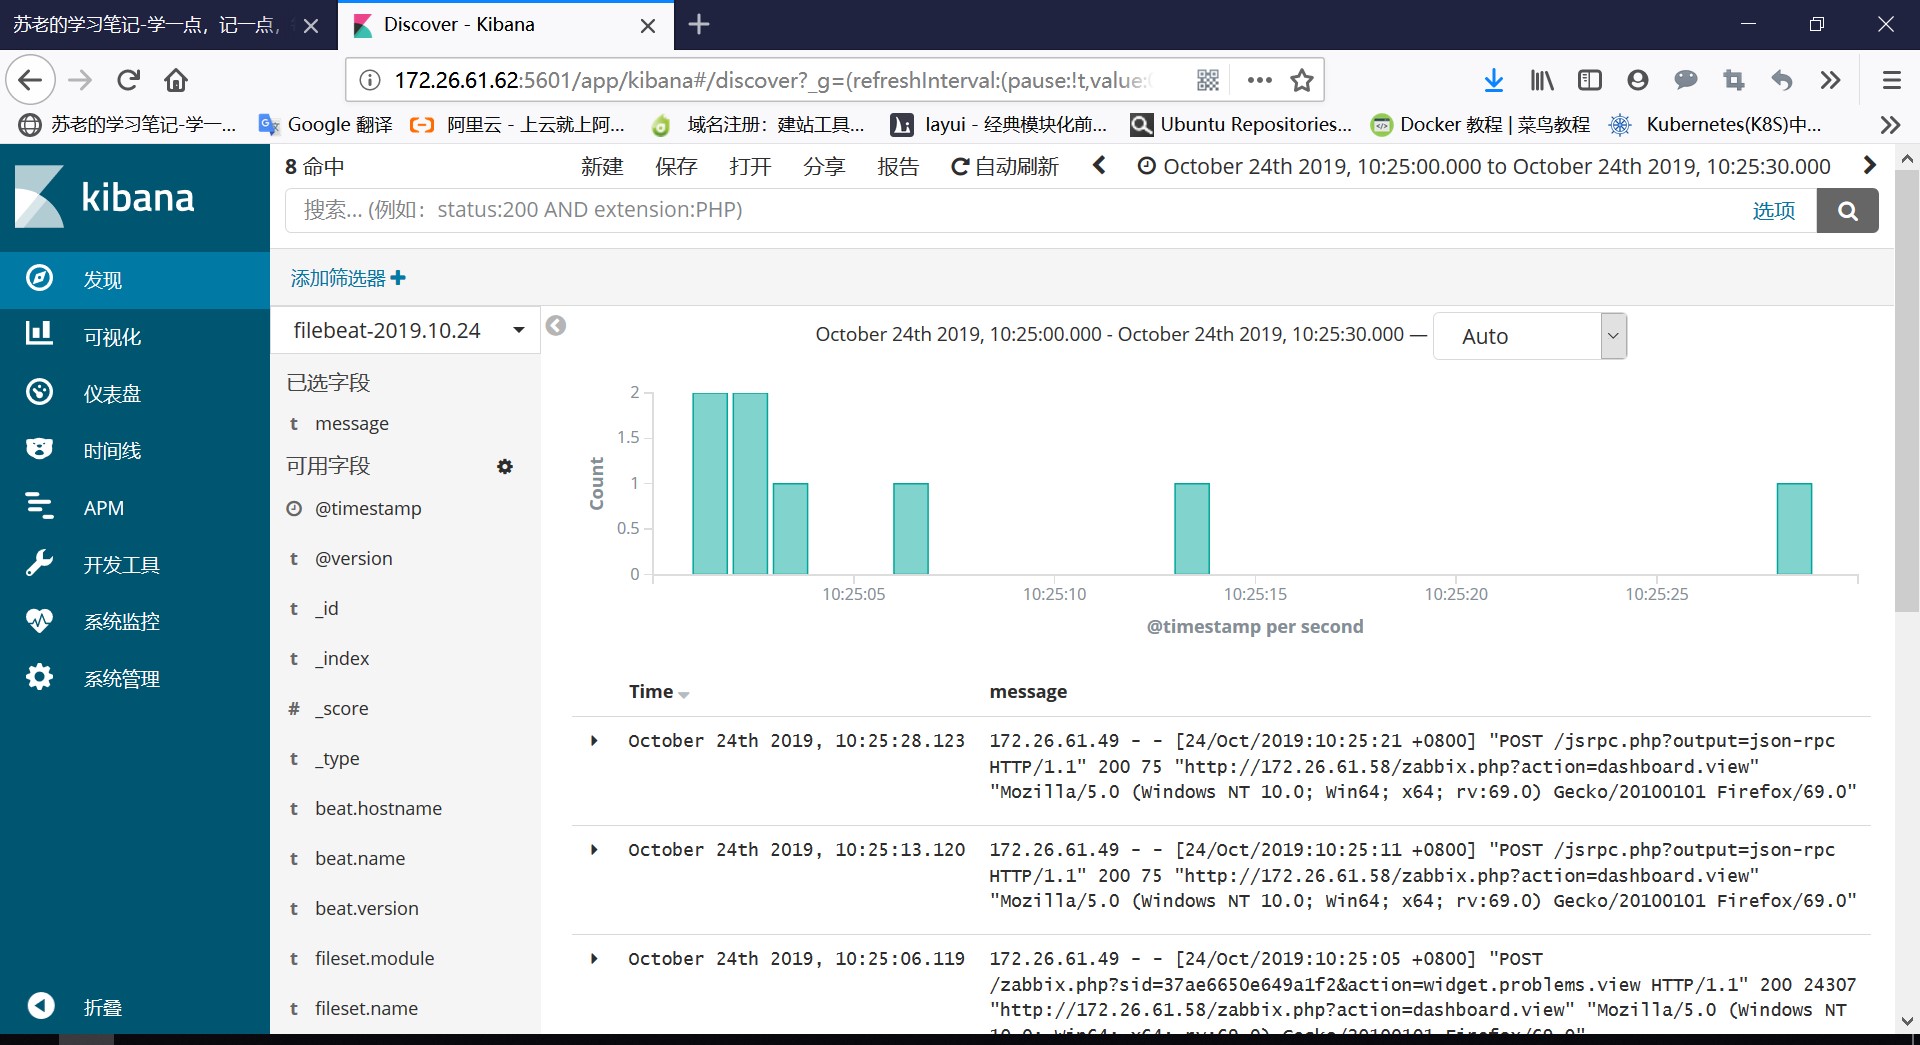
最后我们去发现里面查看采集到的nginx日志,在可用字段里面选择message字段添加即可

