现在都基本使用Centos7,所以这次重新写一个Centos7的,记录下方便以后使用
1.系统约定
NFS Server 192.168.137.10
NFS Client 192.168.137.11
共享目录
/data/nas
2.基础环境配置
确保防火墙和selinux关闭
systemctl stop firewalld
systemctl disable firewalld
sed -i 's/enforcing/disabled/' /etc/selinux/config
setenforce 0
3.安装nfs并配置
yum install -y nfs-utils
创建共享目录
mkdir -p /data/nas
编辑/etc/exports文件,添加共享目录
vi /etc/exports
/data/nas 192.168.137.11(rw,sync,no_root_squash)
参数解读
rw表示可读写
sync表示同步写
no_root_squash 客户机用root访问该共享文件夹时,不映射root用户
编辑好以后保存退出
启动nfs服务前,先为rpcbind和nfs做开机启动
systemctl start rpcbind
systemctl start nfs
systemctl enable rpcbind
systemctl enable nfs
4.配置nfs客户端
在192.168.137.11这台机器安装nfs
yum install -y nfs-utils
可以使用如下命令查看nfs共享出来的目录
showmount -e 192.168.137.10
#返回
Export list for 192.168.137.10:
/data/nas 192.168.138.11
这样就是可以挂载这个目录进行使用了,我们进行挂载测试
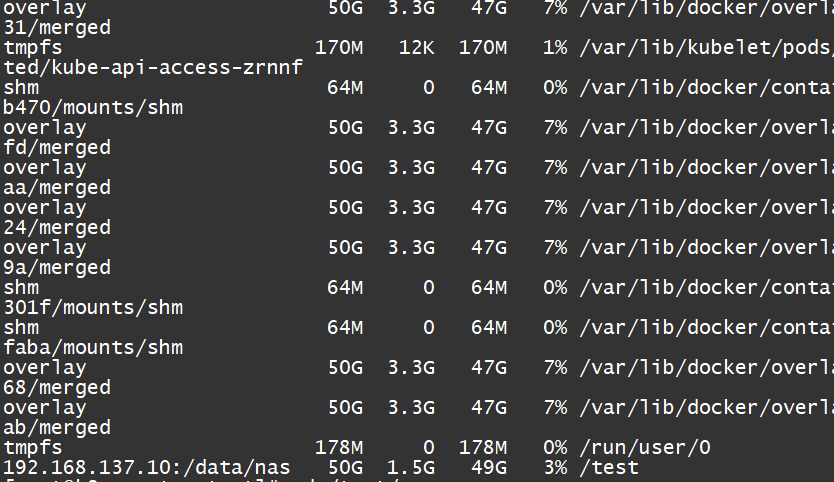
mount -t nfs 192.168.137.10:/data/nas /test
然后我们可以使用df -h命令进行查看,可以看到已经挂载到test目录
如果我们要让其永久生效可以写到fstab文件内
vi /etc/fstab
#最后面添加
192.168.137.10:/data/nas /test nfs defaults 0 0
保存退出,再重启看看df -h里面有没有即可
