GitLab 是一个用于仓库管理系统的开源项目,使用Git作为代码管理工具,并在此基础上搭建起来的web服务。
首先关闭selinux
sed -i "s/SELINUX=enforcing/SELINUX=disabled/" /etc/selinux/config
setenforce 0
安装SSH服务,在系统防火墙中打开HTTP和SSH访问
yum install -y curl policycoreutils-python openssh-server
systemctl enable sshd
systemctl start sshd
firewall-cmd --permanent --add-service=http
firewall-cmd --permanent --add-service=https
systemctl reload firewalld
安装Postfix以发送通知电子邮件
yum install postfix
systemctl enable postfix
systemctl start postfix
添加GitLab包存储库
curl https://packages.gitlab.com/install/repositories/gitlab/gitlab-ee/script.rpm.sh | sudo bash
安装GitLab包
EXTERNAL_URL="https://gitlab.example.com" yum install -y gitlab-ee
如果上述yum在线安装较慢可以去https://packages.gitlab.com/gitlab/gitlab-ee上查找最新的版本下载好传到服务器上,然后
yum localinstall gitlab-ee-12.0.9-ee.0.el7.x86_64.rpm
显示安装成功后,根据提示如还需修改访问地址,修改下面文件
vi /etc/gitlab/gitlab.rb
#找到
external_url 'http://gitlab.example.com'
#修改为
external_url 'http://localhost:8081'
再运行以下命令即可:
gitlab-ctl reconfigure
然后你可以使用http://ip:8081进行访问,注意放行防火墙相关端口
firewall-cmd --zone=public --add-port=8081/tcp --permanent #--permanent永久生效,没有此参数重启后失效
firewall-cmd --reload #修改生效
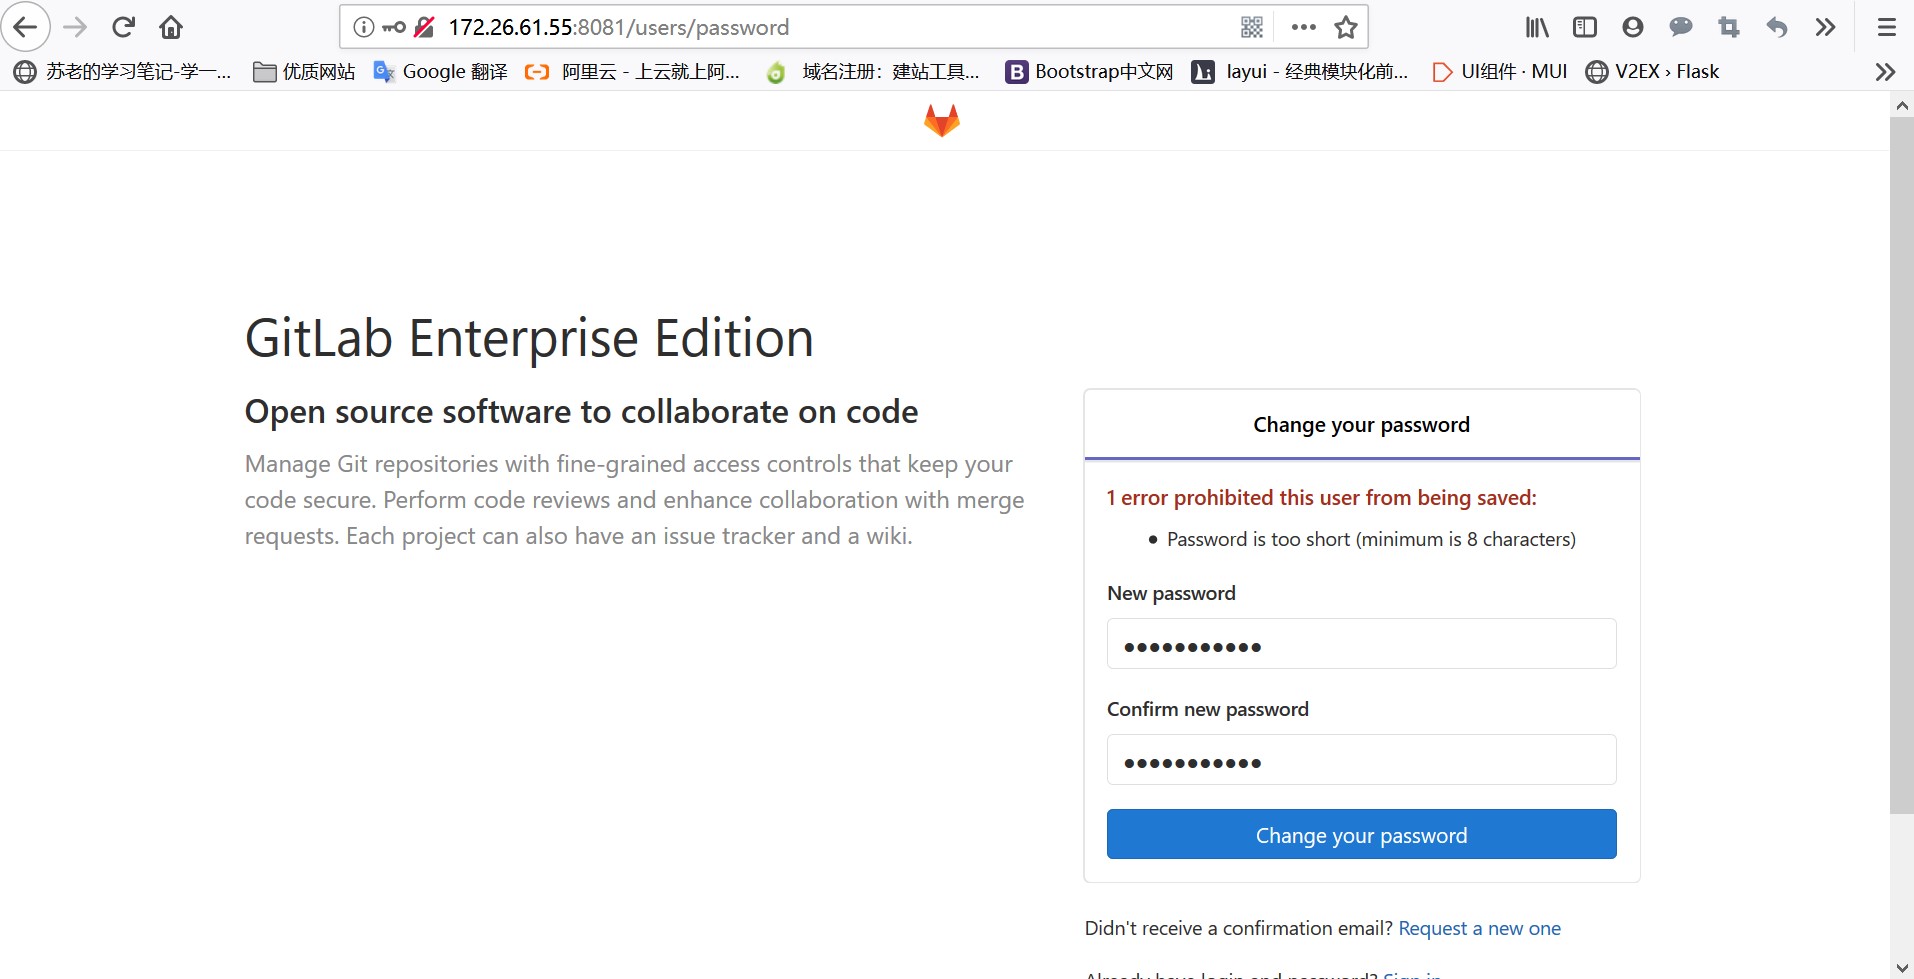
然后初次登陆会直接跳转到重置密码的位置,重置密码以后用root账户和新密码进行登陆

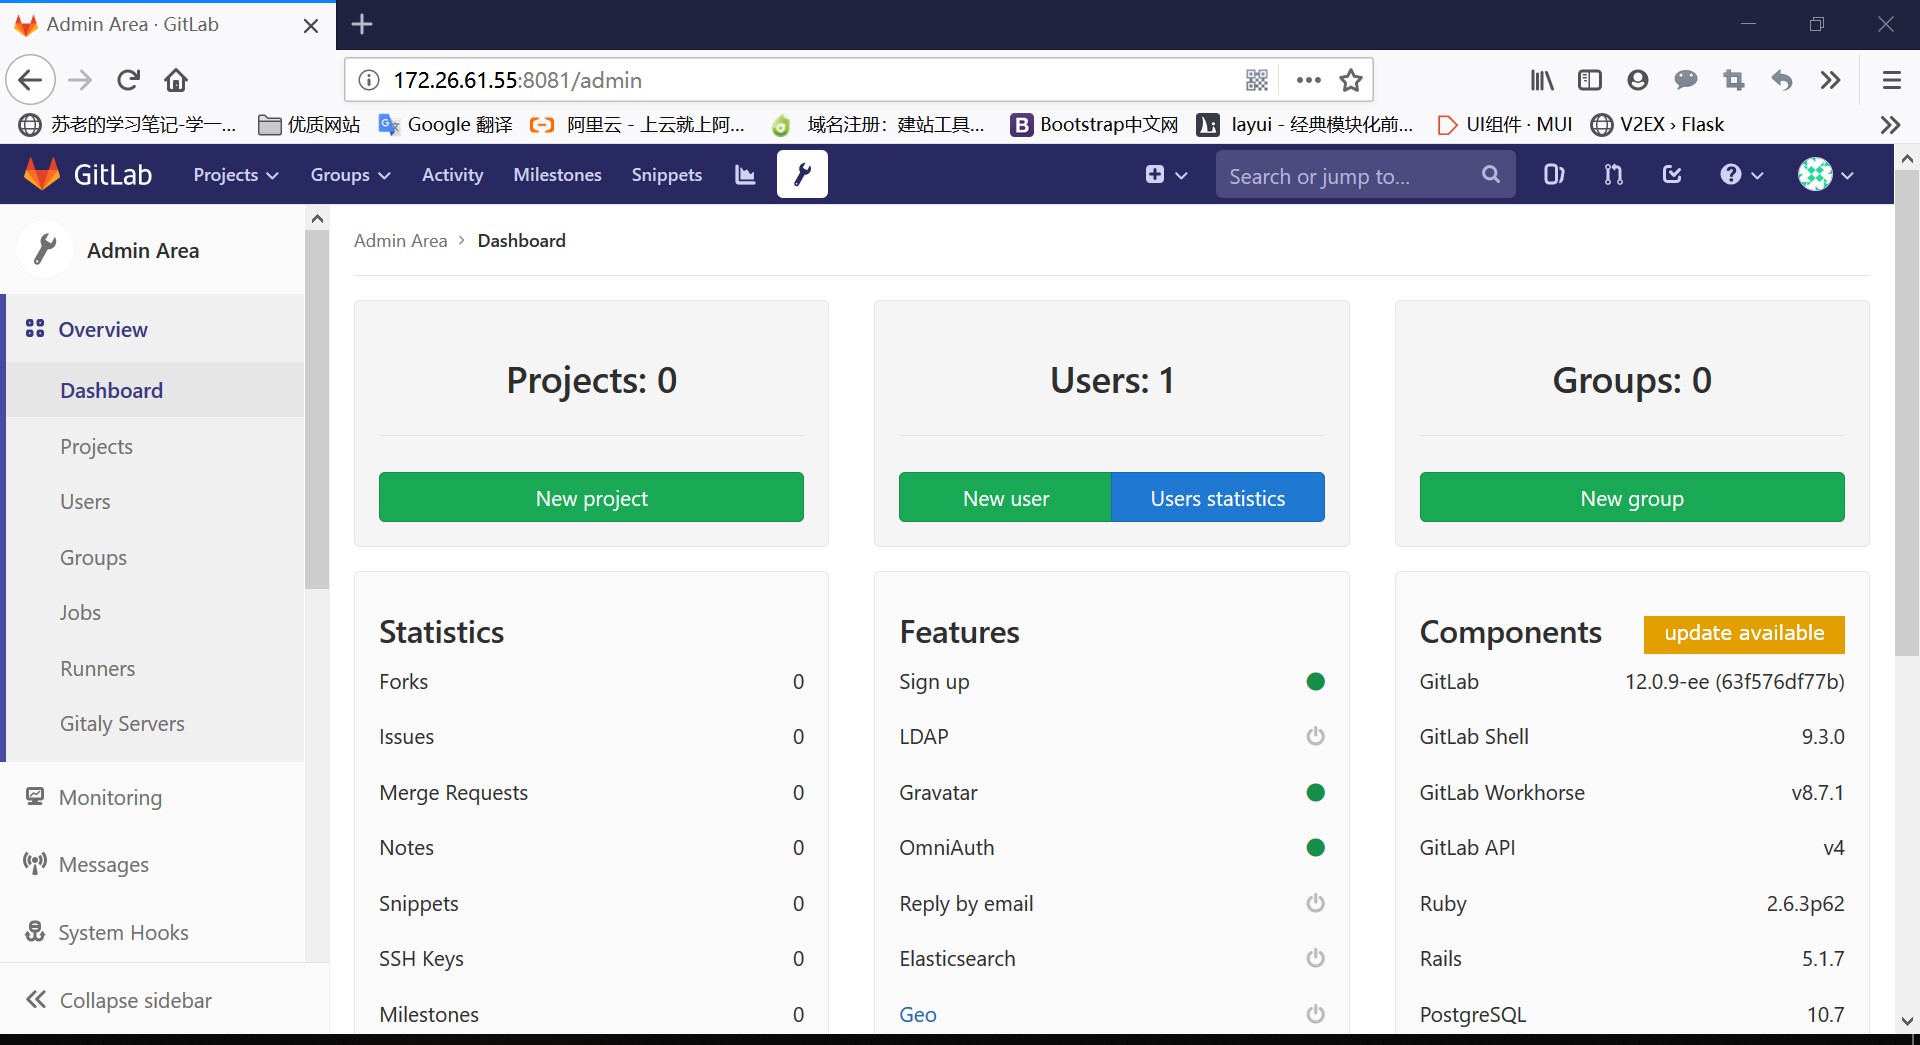
我们进入后来看看界面

2019年9月更新最新版
